Tuesday, 8 October 2013

Holy Light.

Hello again, crafty bloggers.
I'm back today with another shaped Christmas card.
This time featuring another of the gorgeous new stamps from Lili Of The Valley.
This gorgeous angel is called Holy Light.

 
  I have made the card base with 300gsm white Conqueror card and cut the shape out with  GoKreate large frilly frames #2.
The gorgeous papers are called Frosty Christmas from Lili Of The Valley.
I have lightly sanded the edges of the papers.
I have used Neenah cardstock to cut out a Spellbinders floral oval and stamped Holy Light onto it with Memento "Toffee Crunch" ink.
I used Tim Holtz "Tea Dye" distress ink around the edges of the floral oval frame.
I have coloured the image with Polychromos pencils and sprinkled some Fran~tage white shabby embossing enamel from Live & Love Crafts around it.
The doily is from Ebay and the beautiful lace is from The Ribbon Girl
The metal filigree corner is from Wild Orchid Crafts I have frantaged it with shabby white embossing enamel.
The sentiment is also from Lili Of The Valley I have stamped it onto Neenah cardstock with Memento "Toffee Crunch" ink and inked around the edges with "Tea Dye" distress ink.
I cut a small Spellbinders scalloped circle with the Frosty Christmas papers and adhered the circular sentiment onto it.
 
 
The angel wings are Magnolia Doohickey.
I inked around the edges with "Tea Dye" distress ink and coated the wings with Ranger Glossy Accents. I then sprinkled the wings with Twinklets Diamond Dust from Live & Love Crafts and left it to dry.
I adhered a 15mm pale blue rose to the centre.
 
 
For the flower arrangement I have used a 25mm rose and 15mm white roses from Wild Orchid Crafts. The 20mm dusky blue roses, and Kort & Godt white Chrysanthemums all from
I punched out a few woodland branches with a Martha Stewart punch, inked the edges with
"Tea Dye" distress ink and placed them between the flowers.
 I have coated the flowers with Snow ~ Tex from Live & Love Crafts.
 
 
Inside the card has been decorated with Frosty Christmas paper and a GoKreate frilly frame.
 
 
A close up of Holy Light.
I have added ArtDeco Glamour Dust to her wings, candle light, stars and snow on the ground.
 
 
I hope you like my Christmas card?


I am entering my card into the following super challenges:
Inky Chicks Challenge #14. "Use two different die cuts."      (Spellbinders floral oval & Doohickey angel wings.)


Thank you for taking the time to stop by and visit my blog today and a massive thanks for all your lovely comments.
 
Crafty hugs
 
Donna x


Sunday, 6 October 2013

Tilda With Jolly Wreath.

Hi, crafty bloggers.
I hope you are all well?
It's another Christmas card from me and this time I have made a shaped card featuring
Tilda With Jolly Wreath.


I have made the card base with 300gsm white Conqueror card and cut the shape out with  GoKreate large frilly frames #2.
The gorgeous papers are called Frosty Christmas from Lili Of The Valley.
I have lightly sanded the edges of the papers.
I have used Neenah cardstock to cut out a Spellbinders floral oval and stamped Tilda With Jolly Wreath onto it with Memento "Toffee Crunch" ink.
I have coloured the image with Polychromos pencils and sprinkled some Fran~tage white shabby embossing enamel from Live & Love Crafts around it.
The doily is from Ebay and the beautiful lace is from The Ribbon Girl.
I die cut a couple of Doohickey spruce firs and inked around the edges with Tim Holtz "Tea Dye" distress ink. I coated the trees with Crafters Companion Spray & Sparkle and painted on some
Snow ~ Tex from Live & Love Crafts.
I have frantaged the metal filigree corner from Wild Orchid Crafts with shabby white embossing enamel.


The poinsettia die cut is Tim Holtz Sizzix Bigz Tattered Poinsettia which my super bloggy
friend sent to me.
I have inked the edges of two of the leaves with Tim Holtz "Tea Dye" distress ink and sprayed them with Spray & Sparkle placing a blue brad through the centre.
The brad is also from my bloggy friend.


For the flower arrangement I have used a 25mm white curly rose from Wild Orchid Crafts and blue 20mm roses from The Ribbon Girl. I punched out a few woodland branches with a Martha Stewart punch and inked the edges of the branches with "Tea Dye" distress ink placing them in amongst the
  roses.
I have coated the roses with Snow~Tex.
The Christmas stocking charm is from The Ribbon Girl
I have attached the charm with 2mm silver plated curb chain and silver plated rings which hangs
from the back of brad.


Inside the card has been decorated to compliment the front with Frosty Christmas paper and a GoKreate frilly frame which I have inked around the edges with "Tea Dye" distress ink.
 
 
A close up of Tilda With Jolly Wreath.
I have added Glamour Dust to Tilda's hairband, bows, wings, socks and dress.
Lots of sparkle.
I have dotted Tilda's cheeks with Inkssentials opaque white pen.


I hope you like my Christmas card?


I am entering my card into the following super challenges:


Thank you for stopping by to visit my blog today and big thanks for all the lovely comments.
 
Crafty hugs
 
Donna x
 

Wednesday, 2 October 2013

Midwinter Tilda.

Hi, crafty blogger's.
I hope you are well?
 
I have made another Christmas card. A shaped card and this one features Midwinter Tilda.
She is wrapped up warm in her coat, hat and mittens.
 
Lots of pictures.
 
 
For the card base I have used 300gsm white Conqueror card and cut the shape out with
 GoKreate large frames Frilly #2.
The papers are Maja Design "It's Christmas time" from Dies To Die For.
I have lightly sanded the edges of the papers.
I used Neenah cardstock to cut out a Spellbinders floral oval frame and stamped Midwinter Tilda onto it with Memento "Toffee Crunch" ink.
I have coloured Midwinter Tilda with Polychromos pencils and inked around the edges of the floral oval with Tim Holtz "Tea Dye" distress ink.
I have surrounded the image with Fran~tage shabby white embossing enamel from
The doily is from Ebay and the pretty lace is from The Ribbon Girl.
The poinsettia is a Tim Holtz Sizzix Bigz "Tattered poinsettia". The jolly tag and slender firs are Magnolia Doohickey dies.
My super bloggy friend sent me the poinsettia and jolly tag.
I have added some snow effect to the firs with Ranger "Frosted Ice" Stickles.
 
 
The metal filigree corner is from Wild Orchid Crafts.  I have frantaged it with shabby white embossing enamel.
 
 
I have inked around the edges of the Jolly tag and stamped the sentiment from Lili Of The Valley.  with "Toffee Crunch" Memento ink.
I added a little bit of shabby white embossing enamel to the top right and bottom left corners of the tag and tied a piece of white satin edged ribbon through the eyelet.
 
 
I only used two of the poinsettia leaves.
I inked around the edges with "Tea Dye" distress ink and coated the leaves with Ranger Glossy Accents. I then sprinkled the leaves with Twinklets Diamond Dust and left it to dry.
I made a hole in the centres of the two leaves and threaded through two white stamens from
I coloured the stamens with a holly green Promarker.
 
 
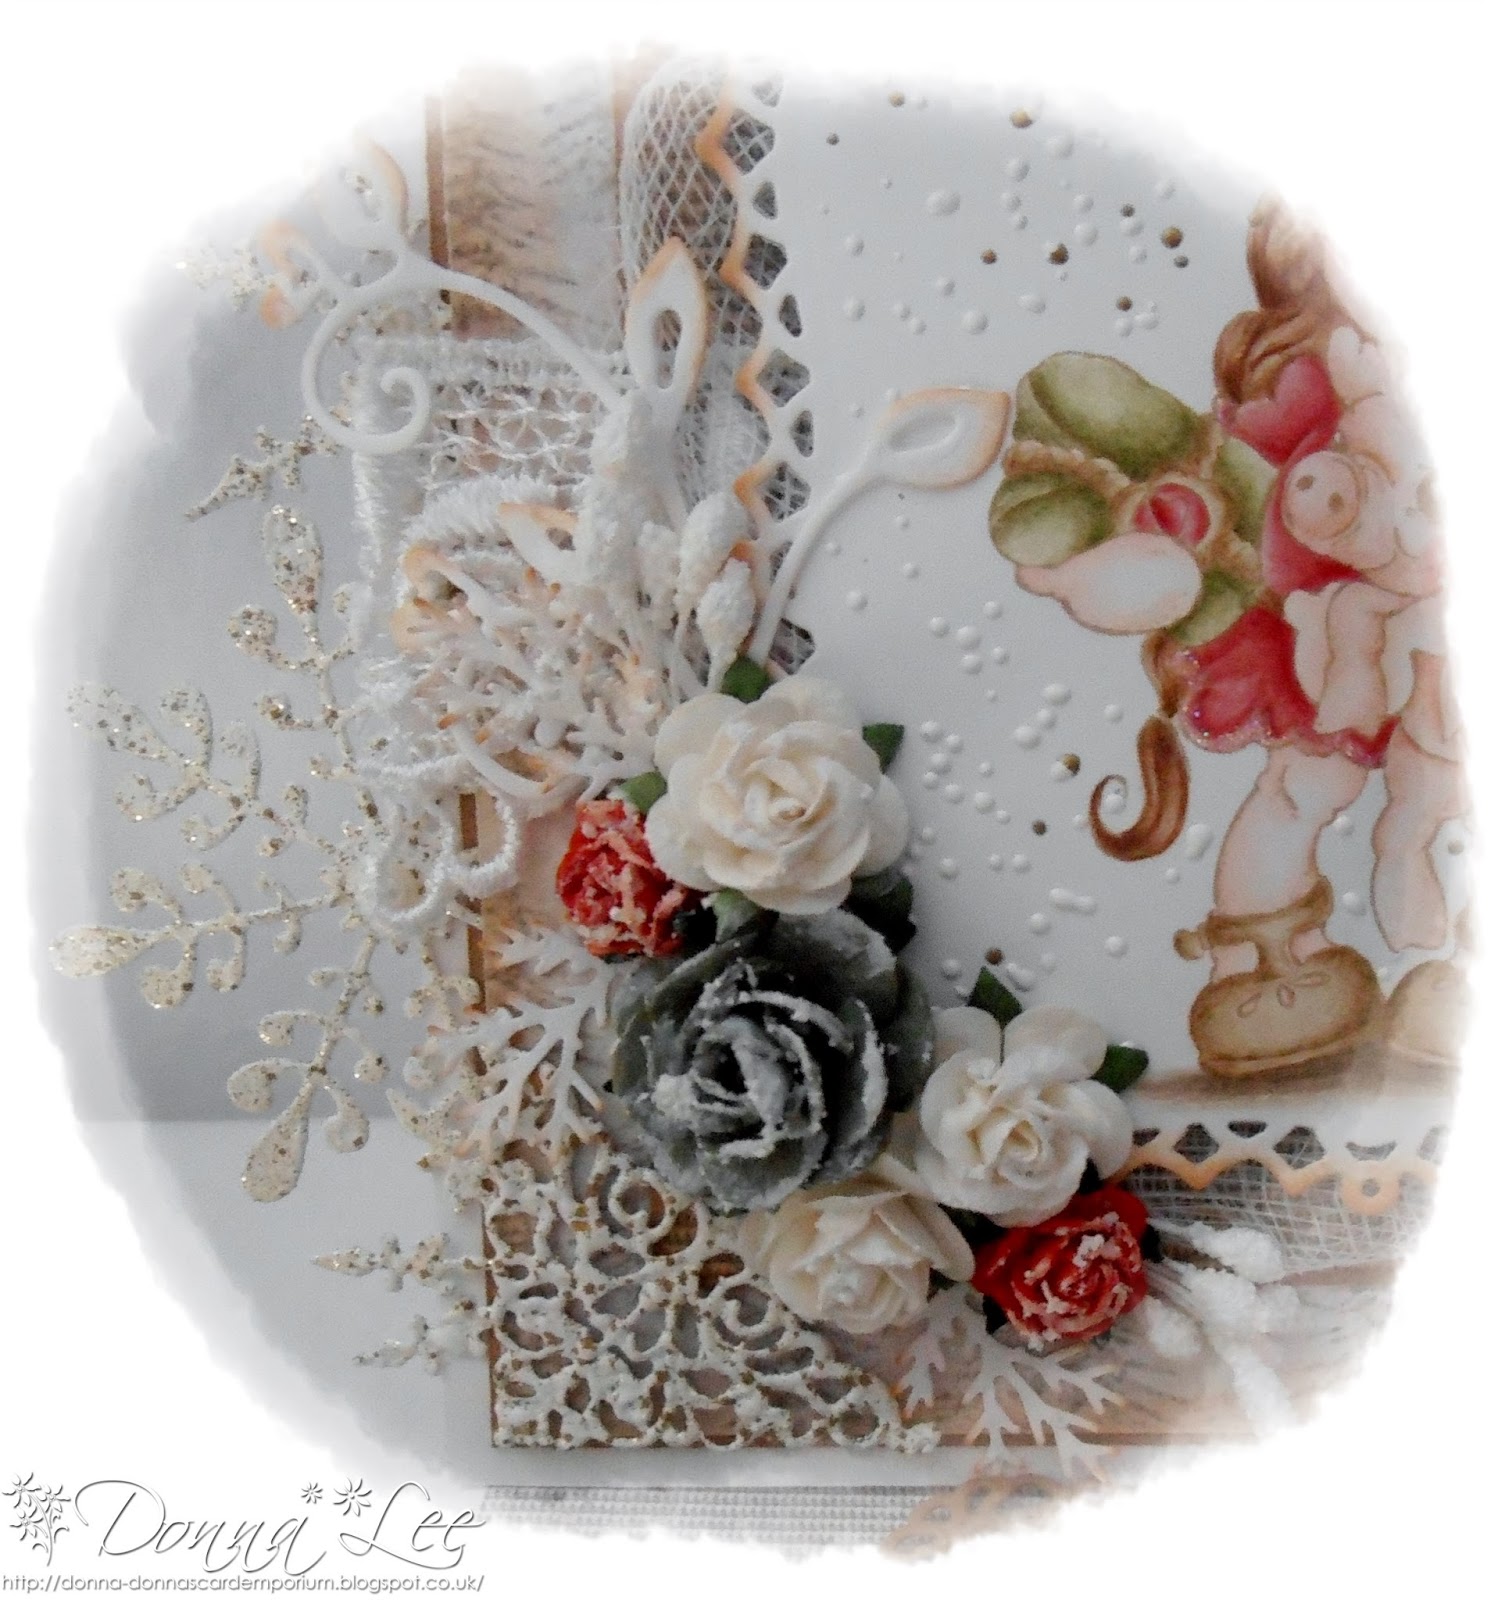
For the flower arrangement I have used 25mm olive green roses, 15mm red roses, 20mm white roses, beaded berries and beaded white twirl.
The white roses, beaded berries and twirl are from The Ribbon Girl.  The green and red roses are from Wild Orchid Crafts.
The branches are Martha Stewart woodland branch punch.
I have coated the flowers with Snow~Tex.
 
 
A close up pic of Midwinter Tilda.
I have added Glamour Dust to her pom-pom, gloves and socks and the top of the lantern is coated with Snow ~ Tex from Live & Love Crafts.
I have dotted Tilda's cheeks with an Inkssentials white opaque pen.
 
 
Inside the card has been decorated to compliment the front with the papers and a Spellbinder floral oval die cut.


I hope you like my creation?


I am entering my Christmas card into the following super challenges:


Thank you for stopping by and for taking the time to comment.
Each and every comment means so much to me.
 
Enjoy the rest of the week.
 
Crafty hugs
Donna x


Wednesday, 25 September 2013

Santa.

Hi Crafty bloggers.
I was so inspired with all cards made by the DT ladies at LOTV that I just had to have a few of the new gorgeous Christmas stamps.
Here is
 Santa.

 
The Santa stamp, Krafty Christmas papers and sentiment are all from Lili Of The Valley.
I have matted the sentiment onto a Spellbinders scalloped oval die with recycled card.
I have stamped Santa onto Neenah cardstock with Memento "Toffee Crunch" ink and coloured the image with Polychromos pencils.
The papers are matted onto Woodware recycled card.
The pretty lace is from The Ribbon Girl.
The dies that I have used are Cheery Lynn Victorian picket fence and Doohickey slender firs.
I have inked around the fir tree with Tim Holtz "Tea Dye" distress ink and sprayed it with
Crafters Companion Spray & Sparkle. I added glue and Glamour Dust to give it some snow effect.
I have sprayed the fence with Spray & Sparkle and painted on some Snow-Tex from
The flowers that I used for the arrangement are a 30mm green rose, 15mm green roses, 15mm white roses, 10mm white roses and white rose buds all from Wild Orchid Crafts.
The red rolled are from The Ribbon Girl. I have placed a 5mm white pearl into each of the
 rolled roses.
I have placed a few woodland branches among the flowers. The branch punch is Martha Stewart.
I have painted some Snow-Tex onto the flowers and branches.
 
 
I have decorated inside the card with Krafty Christmas paper and Spellbinders labels one die cuts.
 
 
A close up of Santa.
I love his reindeer and the cute little robins.
I sprayed the entire image with Spray & Sparkle and added Glamour Dust to the snow drops, Santa's pom-pom, hat trim, cuffs and bottom of his coat.


I hope you like my Christmas card?


I am entering my card into the following challenge:
 
 
Thanks for stopping by and taking the time to leave such lovely comments.
I really do  appreciate them all.
 
 
Crafty hugs
 
Donna x


Friday, 20 September 2013

Tilda With Peanut.

Good afternoon, crafty bloggers.
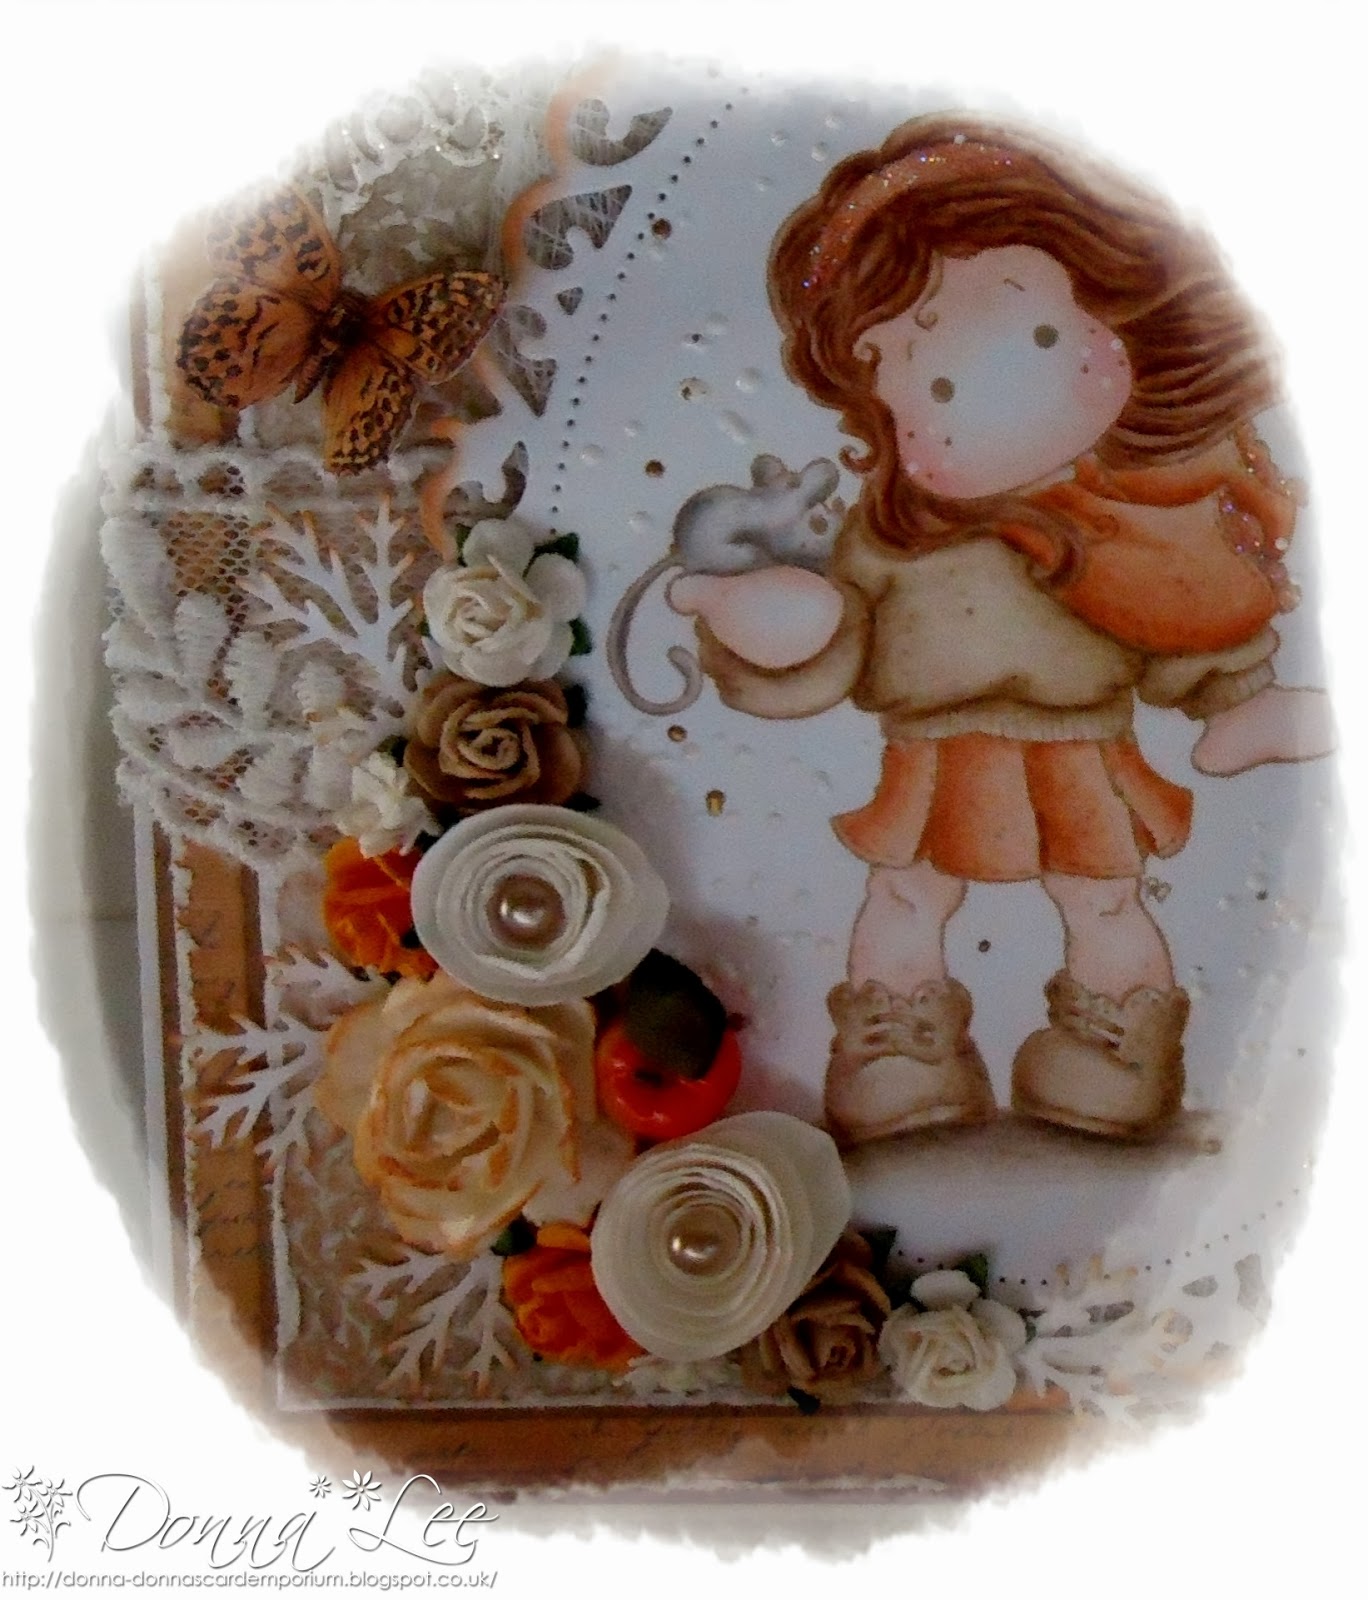
This time I have made an Autumn card featuring Tilda With Peanut for a friends granddaughter who is 10 years old tomorrow.
 
 
I have made the card base with 300gsm white conqueror card.
The papers are Maja Design "Walking In The Forest" from Dies To Die For.
I have distressed the papers with a Tim Holtz paper distresser and matted them onto
 Woodware recycled card.
I have stamped Tilda With Peanut onto a Spellbinders floral oval with Memento "Toffee Crunch" ink and coloured the image with Polychromos pencils.
 I have inked around the edges of the floral oval with Tim Holtz"Tea Dye" distress ink and Frantaged around the image with Shabby white embossing enamel from Live & Love Crafts
The lace at the top of the card is from TRG and the lace across the middle of the card is from
I have placed the image on top of some cheese cloth from Ebay.
The metal filigree corner is from Wild Orchid Crafts and I have Frantaged it with shabby white embossing enamel.
The butterfy die cut in the bottom right corner is a freebie from Simply Cards & Papercraft and I have Frantaged it with Shabby white embossing enamel.
Lots of Fran-tage. Lol!
The other gorgeous butterflies are form the Maja Design paper pad.
The sentiment is computer generated.


The flower arrangement consists of a 25mm tea rose, 15mm orange roses, 15mm mocha roses, gypsophilia and 10mm white roses all from Wild Orchid Crafts.
The Kort & Godt rolled roses and tiny apple are from Live & Love Crafts.
I have adhered a 5mm pearl to the centre of each of the rolled roses and placed a few woodland branches between the flowers using a Martha Stewart punch.
I have coloured the tea rose with "Tea Dye" distress ink.


Inside the card has been decorated to compliment the front.


A close up picture of Tilda With Peanut.
Aren't they adorable?
I have added Glamour Dust to Tilda's hairband and edges of her scarf.
 
 
I hope you like my Autumn card?


I am entering my card into the following super challenges:


Thanks for stopping by to visit today and a big thanks for all the lovely comments.
They mean so much to me.
 
 
Have a wonderful weekend.
 
Crafty hugs.
 
Donna x


.


Monday, 9 September 2013

Princess Tilda With Ballet Shoes.

Good afternoon, crafty blogger's.
Today I have made a card featuring Princess Tilda With Ballet Shoes from the
Once Upon A Time Collection.


I have made the card base with 300gsm white Conqueror card and stamped Princess Tilda onto Neenah card with Memento "Toffee Crunch" ink.
I have coloured Princess Tilda With Ballet Shoes with Polychromos pencils.
I have cut the image out with a Spellbinders Floral Oval and inked around the edges with Tim Holtz "Spun Sugar" distress ink. I have placed a 3mm white pearl to the top, bottom and sides of the oval and used Fran-tage shabby white embossing enamel around the image.
I have also adhered three white 3mm pearls randomly around the image.
The Fran-tage is from Live & Love Crafts
The pretty papers are Maja Design "Sofiero." I have distressed the papers with a Tim Holtz paper distresser and matted them onto Woodware recycled card.
The pretty lace is from The Ribbon Girl and the lace across the centre of the card is from
The metal filigree corner is from Wild Orchid Crafts and I have Fran-taged it with
shabby white embossing enamel.
The sentiment is from Stempelglede.
I have inked around the edges of the sentiment with "Spun Sugar distress ink and used a copper coloured memo pin from The Ribbon Girl to hold the sentiment in place.
 
 
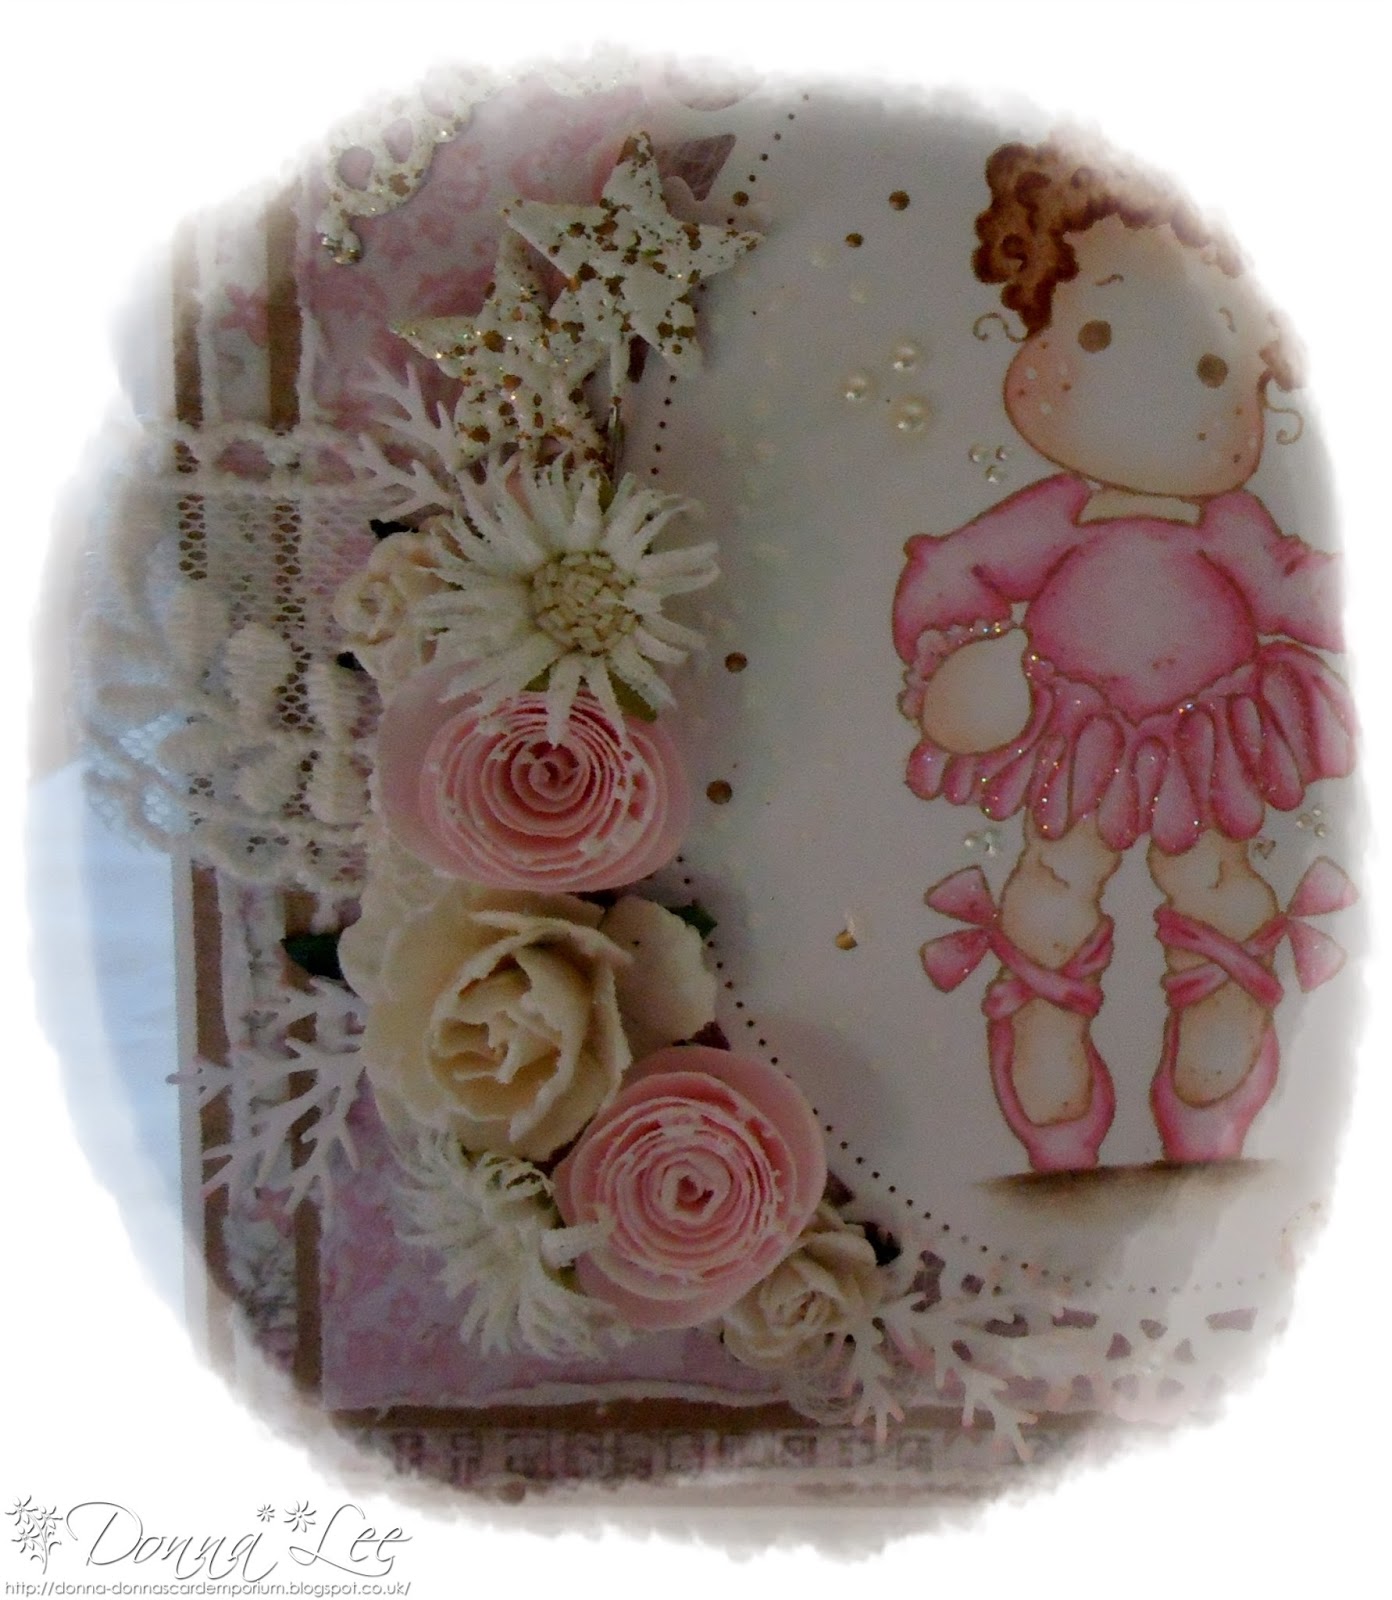
For the flower arrangement I have used a 25mm tea rose and 15mm white roses from WOC.
The white Kort & Godt chrysanthemum, pink rolled roses and star shaped pins are from
I have Fran-taged the pins with shabby white embossing enamel and coated the flowers with
Snow-Tex from Live & Love Crafts.
 
 
The butterflies are both Memory Box dies.
The larger butterfly is called "Vivienne" and the smaller butterfly is called "Pippi" both from
I have Fran-taged Vivienne with shabby white embossing enamel and Pippi is Fran-taged with shabby pink.
I have coloured the centre of the butterfly with a pink Flexmarker and added a  pink 5mm pearl form The Ribbon Girl.
 
 
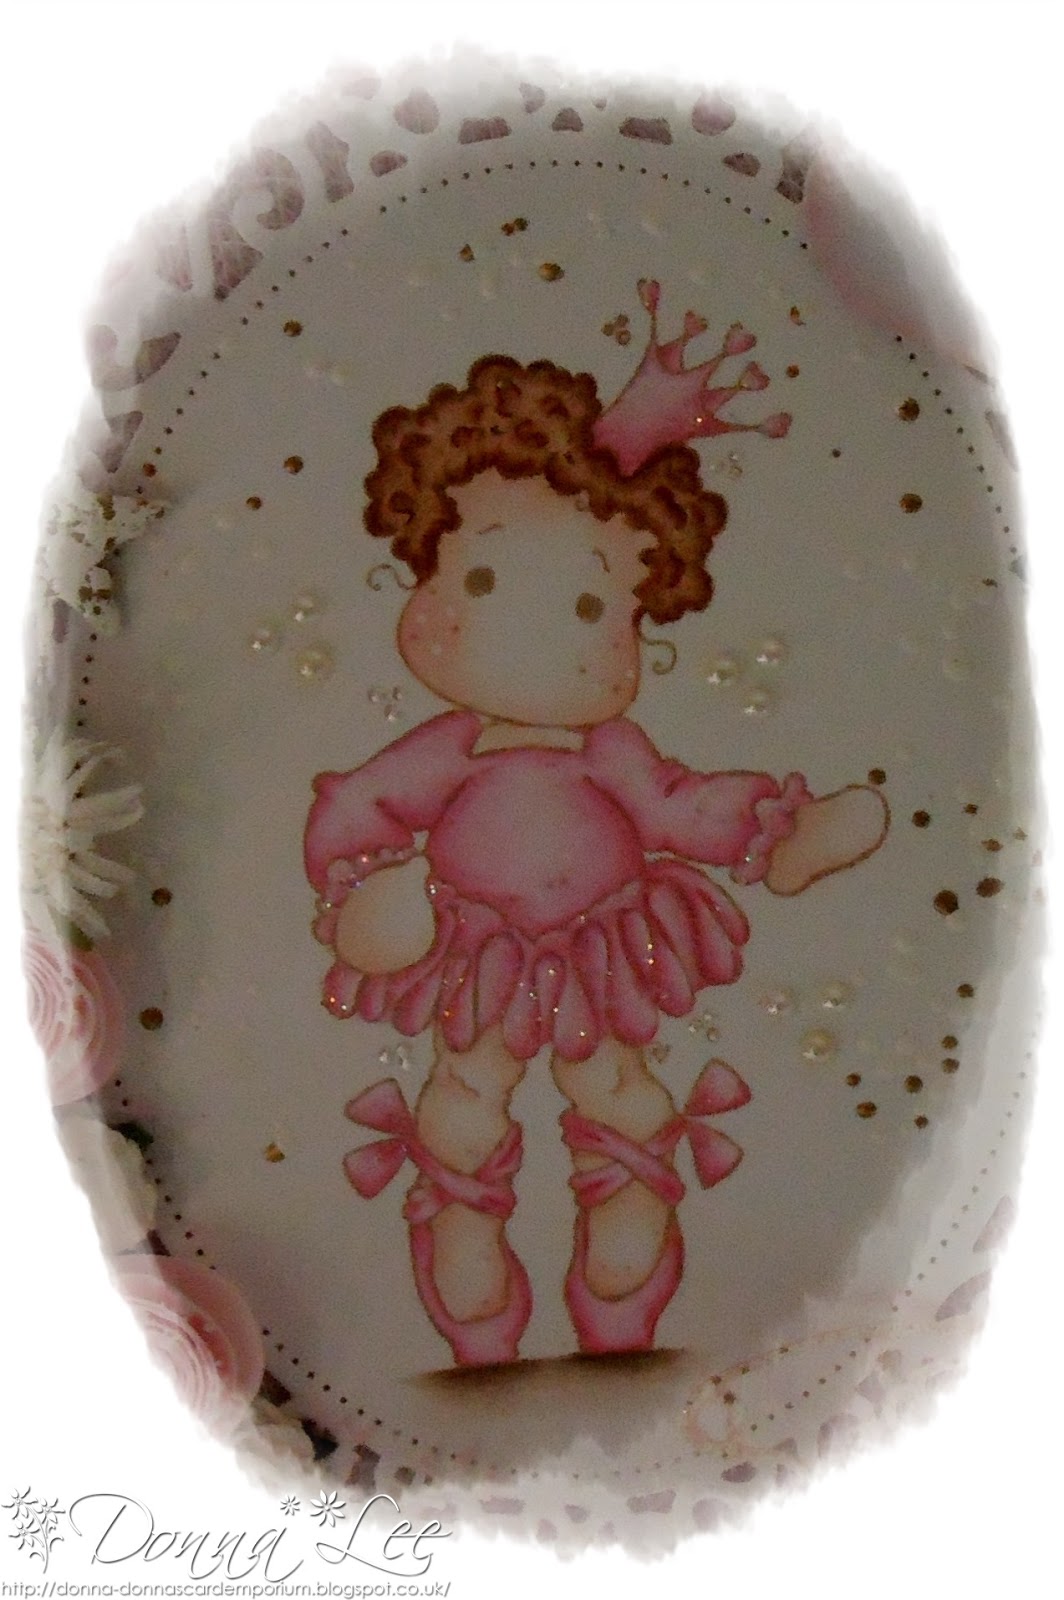
A closer pic of Tilda With Ballet Shoes.
I have added ArtDeco Glamour Dust to Tilda's crown, cuffs and tutu.
 
 
Inside the card has been decorated to compliment the front with Sofiero paper and a Spellbinders Floral Oval.


I hope you like my card?


I am entering my card into the following super challenge's:
Marvelous Magnolia Challenge #43 Pin It. (Memo pin and star shaped pin's.)


Thank you so much for stopping by to visit my blog and thank you for all your lovely comments.
 
Happy crafting.
 
Crafty hugs.
Donna x


Wednesday, 4 September 2013

Tilda With Pigling And A Drawer Easel Card.

Good afternoon, crafty blogger's.
I have made a drawer easel card featuring Tilda With Pigling.
I made a few of these cards last year for a friend so I thought I would make another one. This time for Christmas which won't be very long now and I love it.
 
I found the tutorial for the drawer easel card in Cardmaking & Papercraft last year.
The tutorial is by Dawny P.
 
There are a lot of pictures for this creation because one shot just wasn't enough. Lol!
Here we go................


I have made the drawer easel card with 300gsm white Conqueror card.
 
I have stamped Tilda With Pigling onto Neenah card with Memento "Toffee Crunch" ink and cut the image out with Spellbinders Decorative Labels One.
I have coloured the image with Polychromos pencils and inked around the frame with Tim Holtz "Tea Dye" distress ink. I have also frantaged around the image with shabby white embossing enamel.
The Frantage is from Live & Love Crafts.
The gorgeous papers are Maja Design "It's Christmas Time" from Dies To Die For.
I have inked the edges of the papers with Tim Holtz "Tea Dye" distress ink and matted them onto Woodware recycled card.
The Joy Crafts Noor Design Winter Wishes die cuts around the top and sides of the card have been frantaged with shabby white embossing enamel. I have added 5mm white pearls to each of the snowflake centres
The 5mm white pearls and pretty lace are from The Ribbon Girl.
The coloured image has been adhered with sticky pads and placed onto a piece of cheesecloth.
The cheesecloth is from Ebay.
The die cuts that I have frantaged with shabby white embossing enamel and used on the card are Doohickey snowflakes, Cheery Lynn Ivy flourish corner and La-La Land heart fence.
For the flower arrangement I have used a 25mm green rose, 20mm white roses, 15mm red roses and white gypsophilia. All the flowers are from Wild Orchid Crafts. In between the arrangement I have placed a Doohickey heart swirl and a few Martha Stewart woodland branches. The swirl and branches have been inked around the edges with "Tea Dye" distress ink.
The snowflake charm is from The Ribbon Girl. I have covered it with Snow~Tex and added a white 5mm pearl to the centre.
The metal corner is from Wild Orchid Crafts. I have frantaged it with shabby white embossing enamel.
The sentiment is computer generated.
I have cut the sentiment out with a smaller Spellbinders decorative label and matted it onto the next size up with recycled card. Both have been inked around the edges with "Tea Dye" distress ink
 
 
Inside the drawer has been decorated with Maja Design "It's Christmas Time" papers and a Doohickey snowflake.
The wooden button on the drawer is from Fantastic Ribbons.
I have frantaged the button with shabby white embossing enamel and used a length of green embroidery thread to secure it to the drawer.
 
 
Here is the Drawer Easel Card closed.
 
 
A close up of the flower arrangement.
I have painted Snow~Tex from Live & Love Crafts  onto the flowers.
 
 
Tilda with Pigling.
I have dotted Tilda and Pigling's cheeks with a Inkssentials opaque white pen and added ArtDeco
Glamour Dust to the bottom of Tilda's dress.
 
 
I hope you like my creation?


I am entering my Drawer Easel Card into the following super challenge's ;
Marvelous Magnolia Challenge #42 "Add Metal." (Metal filigree corner and metal snowflake charm.)


Thank you for stopping by to visit my blog today and thank you for all your lovely comment's.
 
Enjoy the rest of the week!
 
Crafty hugs.
 
Donna x